Open Twitch chat in your browser, click Popout Chat, copy that URL, and add it to OBS as a Browser Source. This is the most dependable way to put live Twitch conversation on your broadcast without relying on a complicated plugin.
You’re probably trying to finish a scene before going live, with gameplay, a camera, alerts, and chat all competing for space. The setup itself is quick. The decisions around privacy, readability, moderation, and performance are where many otherwise clean broadcasts start to fail.
A Twitch chat overlay can help viewers feel present in the room, but only if it remains readable without covering important gameplay. It also needs to refresh reliably during busy moments and stay separate from private credentials or third-party widget access. The practical approach is to start with Twitch’s native popout chat, test it in OBS, then tune the layout around the way you stream.
Table of Contents
- The Quick Answer to Adding Twitch Chat
- Step by Step Setup Using a Browser Source
- Optimizing Size, Position, and Readability
- Securing Your Stream and Managing Privacy
- Leveraging Chat Data for Short Form Clips
- Final Checklist for a Clean Stream Layout
The Quick Answer to Adding Twitch Chat
A clean scene can still fail if chat becomes unreadable, exposes private information, or stops refreshing during a busy broadcast. For the obs add twitch chat workflow, start with Twitch’s native Popout Chat instead of an unfamiliar extension. Open your channel while logged in, find the chat panel, open its menu, and select Popout Chat. Twitch opens a separate browser view containing the conversation.
Copy the complete address from that tab. In OBS Studio, open the Sources panel, click the plus button, select Browser Source, and name it something clear, such as “Twitch Chat.” Paste the popout address into the URL field, confirm the source, and resize it on the OBS canvas. Keep the URL private if it contains channel-specific information, and avoid sharing screenshots that expose account details.
OBS does not display Twitch chat as a native visual overlay. A browser-based source or dock delivers the chat instead, as explained in this practical guide to adding Twitch chat in OBS. Test the source before going live, especially after changing scenes or updating OBS.
Why the native popout is a sensible starting point
The native method keeps the setup easier to inspect. Your Twitch login remains with Twitch, while OBS handles the visible source. If chat fails, check the Twitch address and Browser Source settings separately instead of debugging a plugin and an overlay provider together.
The trade-off is limited visual control. Twitch’s popout can look plain, and custom themes may require CSS or a third-party widget with its own permissions and privacy risks. Start with the plain version. It confirms that chat loads before you add transparency, animations, styling, or another service that could affect performance during a long stream.
Step by Step Setup Using a Browser Source
Start with Twitch, not OBS. Open your channel page in a modern browser and sign in. On the right side, locate the chat panel, open the chat menu represented by three dots, and select Popout Chat. A new tab should display only the chat interface.
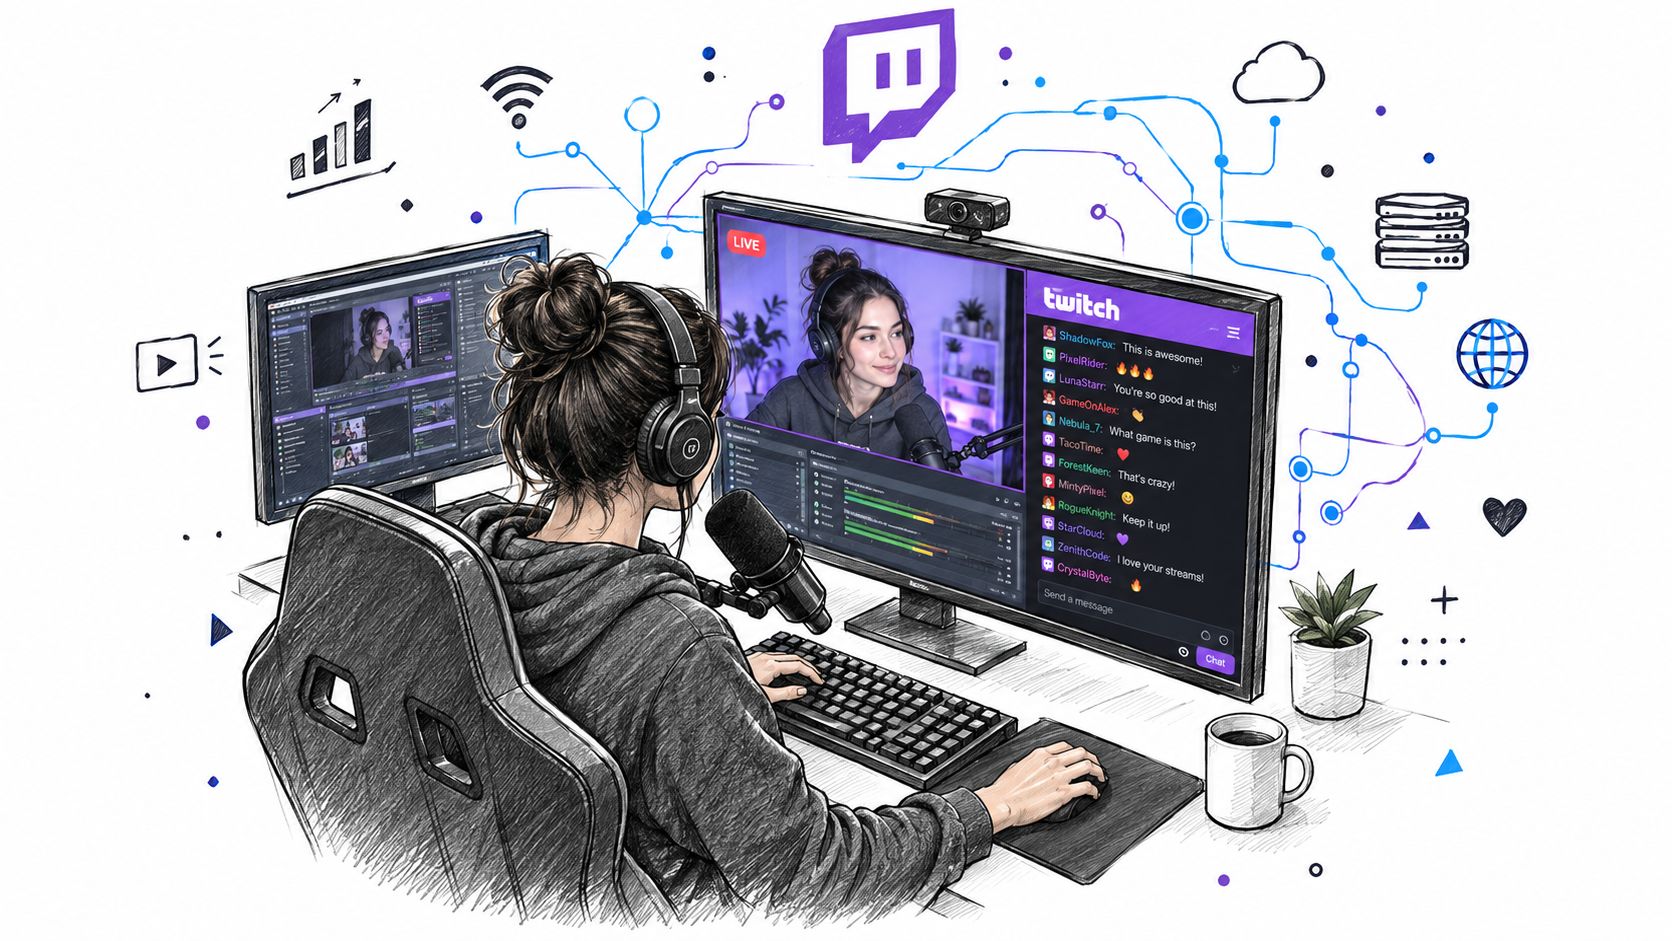
Copy the full URL from the address bar. Avoid copying only part of the address, because Twitch may include channel-specific information that the Browser Source needs. Then open OBS Studio and work through this path:
- Create the source: In the Sources panel, click the plus icon and select Browser Source.
- Name it clearly: Use “Twitch Chat” or a similar label, especially if you manage several scenes.
- Paste the address: Put the copied popout URL into the URL field.
- Set the canvas size: Enter dimensions that match the space reserved for chat in your scene.
- Confirm and position: Click OK, then move and resize the source in the preview.
- Test interaction: Send a harmless test message from another account or ask a trusted moderator to confirm that new messages appear.
OBS and third-party instructions generally converge on this browser-based method because chat isn’t a native stream overlay. You can also place the chat in an OBS dock if you want it available while producing the broadcast but not visible to viewers. For broader production workflow advice, this guide to capturing stream video is useful when you’re also recording footage for later editing.
If the source remains blank, check that the URL opens correctly in your normal browser first. Then reload the Browser Source in OBS and verify that the scene containing it is active. A working browser tab doesn’t guarantee that every OBS scene includes the source, so confirm its visibility in the scene where you plan to broadcast.
Optimizing Size, Position, and Readability
A chat feed can be technically functional and still be a poor overlay. Viewers need to read messages quickly, but the source shouldn’t cover the minimap, subtitles, health bar, facecam, or the visual area where your gameplay communicates what’s happening.
Start by placing chat in the least informative part of your layout. A narrow side column often works for a webcam-heavy broadcast, while a lower corner may suit a game with important information around the edges. Before committing, review your Twitch streaming layout options and compare the chat position with the rest of your scene rather than treating the chat box as an isolated element.
Tune the source against your actual canvas
In the Browser Source properties, set a width and height that reflect the space you’ve allocated. For a 1920 by 1080 scene, a narrow chat panel might use a width around 300 to 400 pixels and a height around 600 to 800 pixels, but those are layout starting points, not performance claims. Match the source to your composition, then judge it at the size viewers will see.
Resize the source from its edges in the OBS preview, and hold the appropriate modifier if you need to preserve proportions. A stretched chat panel makes text look awkward, while an overly compressed panel causes long messages to wrap into distracting blocks.
Make messages readable over moving footage
A transparent feed can look elegant in a static mock-up and disappear completely over bright gameplay. A lightly opaque dark background usually gives the text enough separation without turning chat into a heavy rectangle. Keep usernames and message text visually distinct, but don’t add so much decoration that the conversation becomes harder to scan.
If you use a custom widget, its CSS controls may let you adjust font size, background opacity, spacing, and message behavior. Change one variable at a time, then watch a recorded test scene. Rapid chat can create visual noise, so the overlay should reveal conversation without forcing every message to remain on screen indefinitely.
Practical rule: Read your chat at the smallest preview size you commonly use. If you have to lean toward the monitor, your viewers will struggle even more.
Securing Your Stream and Managing Privacy
The URL is the part many setup guides treat casually, but it deserves the same care as any other access detail. OBS explains that chat overlays commonly come from third-party providers and appear through a Browser Source. Independent guidance also warns that widget URLs may contain unique tokens, so any URL with a token should be treated as private data. The security concern is documented in this overview of OBS chat overlay risks.
A leaked widget address may expose more than the visual appearance of your chat. Depending on the provider and the information embedded in the address, another person could potentially reuse the widget, inspect its configuration, or interfere with the way your community sees messages. You shouldn’t publish the full URL in a tutorial screenshot, paste it into a public chat, or leave it visible while recording your desktop.
Keep production details out of public view
Use OBS docks when you need to monitor chat privately during production. A dock keeps the conversation available inside your workspace without placing the browser page itself in the broadcast canvas. For third-party widgets, store the address in a password manager or another private location rather than a shared document.
Before you stream, inspect the source properties and confirm that the URL is not visible in an open window capture. Disable display capture for setup windows, close unnecessary browser tabs, and use a dedicated scene for technical checks. If you suspect that a token has been exposed, replace or rotate it through the relevant service instead of assuming nobody noticed.
Privacy also includes the conversation itself. Chat can contain usernames, personal details, moderation actions, and messages that aren’t appropriate for a public overlay. Review your moderation controls, decide whether every message belongs on screen, and use a privacy-focused workflow such as this streaming privacy resource when documenting or sharing your setup.
Treat a widget URL like a credential whenever it contains a token. The safest overlay is one you can use without showing its private configuration to your audience.
Leveraging Chat Data for Short Form Clips
Once chat appears in your broadcast, it becomes more than a visual accessory. It provides a timestamped record of audience reaction, which can help you find moments worth reviewing after a long session. Twitch chat operates as a high-volume, always-on communication layer. A 2026 industry summary cites more than 240 million monthly active users, about 35 million daily active users, and roughly 2.2 to 2.55 million average concurrent viewers across the platform, figures that help explain why chat can become a useful signal during live broadcasts (industry summary and Twitch moderation context).
The same source cites Twitch transparency data showing that more than 73 million chat messages were proactively removed by AutoMod and Blocked Terms in the first half of 2024. That moderation volume matters operationally. It shows why a creator can’t treat chat as a passive decoration, especially during raids, events, or sudden bursts of attention.
Turn reactions into a review queue
Suppose you’re playing normally and chat suddenly fills with short reactions. You may not remember the exact moment later, especially after a long session. During review, a burst of messages can direct your attention to a surprising play, a funny mistake, a strong reaction, or a community phrase that gives the clip its identity.
That signal shouldn’t replace human judgment. Chat can spike because of confusion, repetition, moderation activity, or an off-screen event, so watch the surrounding gameplay and audio before selecting a moment. The useful workflow is to combine signals rather than trust one metric:
- Chat activity: Look for sudden conversation changes around a timestamp.
- Audio and reaction: Check whether your voice, alerts, or game audio adds context.
- Visual payoff: Confirm that the footage makes sense without requiring the entire broadcast.
- Community meaning: Decide whether the moment reflects an inside joke or a theme your audience will recognize.
The uneven structure of Twitch conversation makes this filtering important. A 2026 study analyzed 719.27 million messages from 9.31 million unique accounts across 535,426 channels. It found a median channel generated only 46 messages in a full month, while the busiest single channel recorded 40.7 million messages in that period, showing why a clipping workflow must handle both quiet streams and intense bursts (large-scale Twitch chat analysis).
For creators who want to automate the first pass, an AI video clipper for Twitch VODs can use chat alongside gameplay, reactions, and audio to rank possible moments. The strongest result still comes from reviewing the suggested timestamp, tightening the beginning and ending, and checking that the chat context is clear in the final vertical edit.
Final Checklist for a Clean Stream Layout
Run the scene as if you were already live. Switch to the intended OBS scene, watch the Browser Source for several minutes, and send a test message. Check that the source loads, the text remains legible, and the chat panel doesn’t cover information you need during gameplay.
A clean overlay also depends on moderation. Enable the Twitch tools you already rely on, including AutoMod and blocked terms, then confirm that your moderators know how the on-screen chat is being used. Chat is a public-facing part of the broadcast, so a message that would be manageable in the normal Twitch panel may be more distracting when it appears over gameplay.
Preflight checks before going live
Use this short pass immediately before the broadcast:
- Source check: Confirm that “Twitch Chat” is visible in the active scene and that its browser content has loaded.
- Layout check: Look at the full canvas, not just the source box. Make sure gameplay, camera, alerts, and chat have clear boundaries.
- Readability check: Review the scene at a reduced preview size and verify that messages don’t blend into the background.
- Privacy check: Hide setup windows, close exposed widget configuration pages, and make sure no private URL appears in a capture source.
- Refresh check: Reload the source before going live if it has been open for a long time, then watch for delayed or duplicated messages.
- Resource check: If OBS becomes sluggish, reduce unnecessary browser animation and review the Browser Source settings rather than increasing refresh behavior blindly.
The best chat overlay isn’t the largest one. It’s the one viewers can understand without losing the broadcast’s main subject. Keep the first version simple, record a private test, and adjust based on what remains readable while you play, speak, and respond.
A reliable setup also creates better post-stream evidence. When chat reactions, gameplay, audio, and your response line up around the same moment, you have a stronger basis for deciding what deserves a clip than memory alone.
StreamGen helps turn Twitch VODs into short-form clips by finding high-energy moments through gameplay, reactions, chat, and audio signals, then reframing, captioning, and scheduling them for TikTok, YouTube Shorts, and Instagram Reels. Connect your broadcast workflow and explore StreamGen to turn the chat activity you’re already capturing into a more consistent publishing queue.
More blog posts