Good lighting can transform an average stream into a professional-looking broadcast. It not only helps your camera perform better by providing ample illumination, but it also highlights your expressions, making you more engaging and ensuring you stand out to your audience. This guide will walk you through creating a great lighting setup, even if you’re working with limited space and a tight budget from your bedroom.
Why Lighting Matters More Than You Think
Many new streamers focus heavily on getting the latest camera, but the truth is, lighting impacts video quality more significantly than the camera itself. Think of it this way: even the most expensive camera will struggle to produce a clear, crisp image in a poorly lit environment. Soft, even lighting eliminates harsh shadows, reduces graininess, and gives your entire stream a polished, professional look that keeps viewers engaged and makes you appear more credible. It also helps with your overall presentation, making your skin tones look more natural and vibrant.
The Key Elements of a Three-Point Lighting Setup
A professional lighting setup typically utilizes a three-point lighting system. This is a classic technique used in photography and videography to illuminate a subject effectively and create depth.
Key Light
The key light is your primary light source and the brightest one in your setup. Its main purpose is to illuminate your face and the front of your body.
- Placement: Position your key light slightly to one side of your camera, typically at a 30 to 45-degree angle from your face, and slightly above eye level. This creates natural-looking shadows that define your features without being too harsh.
- Diffusion is Crucial: A bare, bright light can be unflattering. Always diffuse your key light. This spreads the light out, making it softer and more even. LED panels with built-in diffusers or separate softboxes are excellent choices for achieving this. A softbox encloses the light and has a translucent front panel that scatters the light evenly.
- Power: Aim for a light that’s powerful enough to adequately illuminate you without needing to be cranked up to 100%, which can cause overheating and reduce its lifespan.
Fill Light
The fill light is used to reduce or “fill in” the shadows created by your key light. It softens the contrast on your face, ensuring that one side isn’t significantly darker than the other.
- Placement: Position your fill light on the opposite side of your camera from your key light, also at a 30 to 45-degree angle from your face.
- Intensity: The fill light should be dimmer than your key light – typically around half the intensity. The goal is to soften shadows, not eliminate them entirely, as some shadows add definition.
- Options: You can use another small LED panel, a softer ring light, or even a reflector to bounce light back onto your face.
Back Light
Also known as a rim light or hair light, the back light is placed behind you and shines towards the back of your head and shoulders.
- Purpose: Its main function is to separate you from your background, creating a subtle halo effect that adds depth and dimension to your stream. Without a back light, you might blend into your background, especially if your hair or clothing is a similar color.
- Placement: Position it behind you and slightly above, aiming down at your shoulders. Ensure it’s not shining directly into your camera lens, which can cause lens flare.
- Intensity: The back light should be less intense than your key light, just enough to create that noticeable separation.
Smart Lighting Solutions for Every Budget
You don’t need to spend a fortune to achieve great lighting. Here are some savvy options:
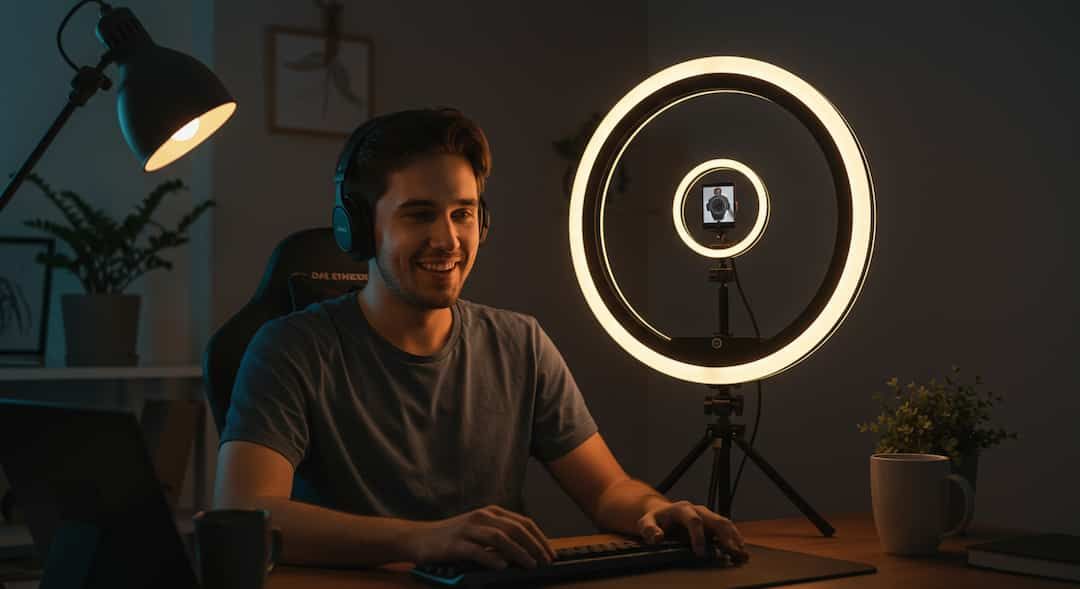
- Ring Lights as a Key Light: For a simple, all-in-one solution, a ring light can work wonderfully as your key light. Place your camera in the center of the ring, and the light will illuminate your face evenly. They are particularly good for eliminating shadows around the eyes.
- DIY Diffusion: Don’t have a softbox? Parchment paper (baking paper), a thin white bedsheet, or even a frosted shower curtain can be taped over cheap LED panels or work lights to diffuse them effectively. Just be cautious with heat and fire safety if using incandescent bulbs.
- Harnessing Natural Daylight: A large window can be an excellent, free source of soft, natural light. Position yourself facing the window, allowing the light to illuminate your face evenly.
- Considerations: Be mindful that natural light changes throughout the day, so your lighting will shift with the time. Also, avoid direct sunlight, as it can be too harsh and create strong shadows. Overcast days offer the best natural diffused light.
- Desk Lamps with LED Bulbs: Many standard desk lamps can be repurposed. Replace incandescent bulbs with daylight-balanced LED bulbs (look for “5000K-5500K” on the packaging) and add a DIY diffuser.
Advanced Tips for Polishing Your Look
Once you have the basics down, these tips can elevate your stream even further:
- Match Color Temperatures: This is crucial for a consistent and professional look. Color temperature is measured in Kelvin (K) and indicates whether a light source appears warm (yellow/orange, lower K numbers) or cool (blue, higher K numbers). For a natural, daylight look, stick to lights around 5500K. Mixing different color temperatures can make your skin tones look unnatural or create an odd color cast on your stream.
- Utilize RGB Lights for Ambiance: RGB (Red, Green, Blue) lights can add incredible ambiance, mood, or color contrast to your background. These are often LED strips or smart bulbs that can change to millions of colors. Use them sparingly and strategically to accent your setup, rather than as primary illumination for your face.
- Avoid Poor Light Placement:
- Directly Above You: Overhead lighting can create harsh shadows under your eyes and nose, making you look tired or sickly.
- Directly Behind You (without a key light): This will silhouette you, making you appear as a dark shape against a bright background. While sometimes used for dramatic effect, it’s generally not ideal for standard streaming where you want to be clearly seen.
Lighting on a Budget vs. Professional Gear
It’s tempting to jump straight to the high-end gear you see your favorite streamers using, but it’s often unnecessary, especially when starting out. Prioritize positioning and diffusion over brand names.
Start with what you have or invest in a few affordable items. A simple ring light or two strong LED panels with diffusers can go a long way. As you gain experience and grow your audience, you can gradually upgrade your equipment. You don’t need a full suite of Elgato Key Lights right away. Focus on understanding the principles of good lighting first, and then invest in better gear as your needs evolve.
Light Up Your Stream, Not Your Wallet
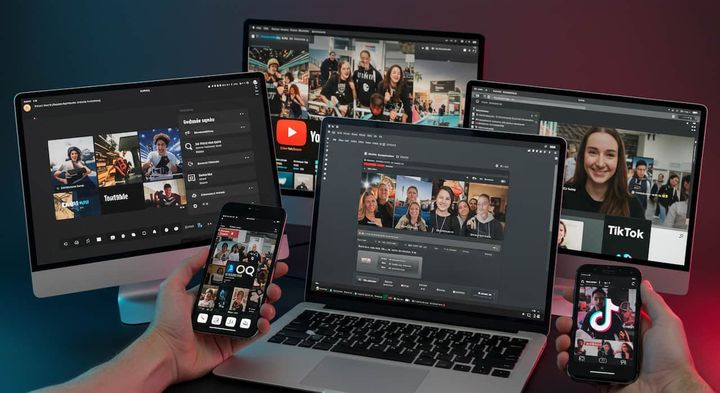
Once your lighting setup is looking great and you’re ready to present your best self on stream, the next step is ensuring your amazing content reaches more people. That’s where tools like StreamGen come in. StreamGen can automatically find your best Twitch moments, transform them into engaging short-form videos perfect for TikTok, Reels, and YouTube Shorts, and even schedule them for you.
Don’t let your brilliant lighting and captivating content go unnoticed. Try StreamGen for free today and start expanding your reach!
More blog posts